
After connecting your QuickBooks Online company to Odoo, several configuration steps should be completed before enabling day-to-day synchronization.
This article walks through the recommended setup and explains every option on the connection form. All settings are per connection: open QuickBooks Online → Connections and open your connection.
See the video guide:
https://www.youtube.com/playlist?list=PLxCw4zqZMrBHvmEhPWsu_s9KkR5HlZgc-
.
Step 1: Run the Initial Import
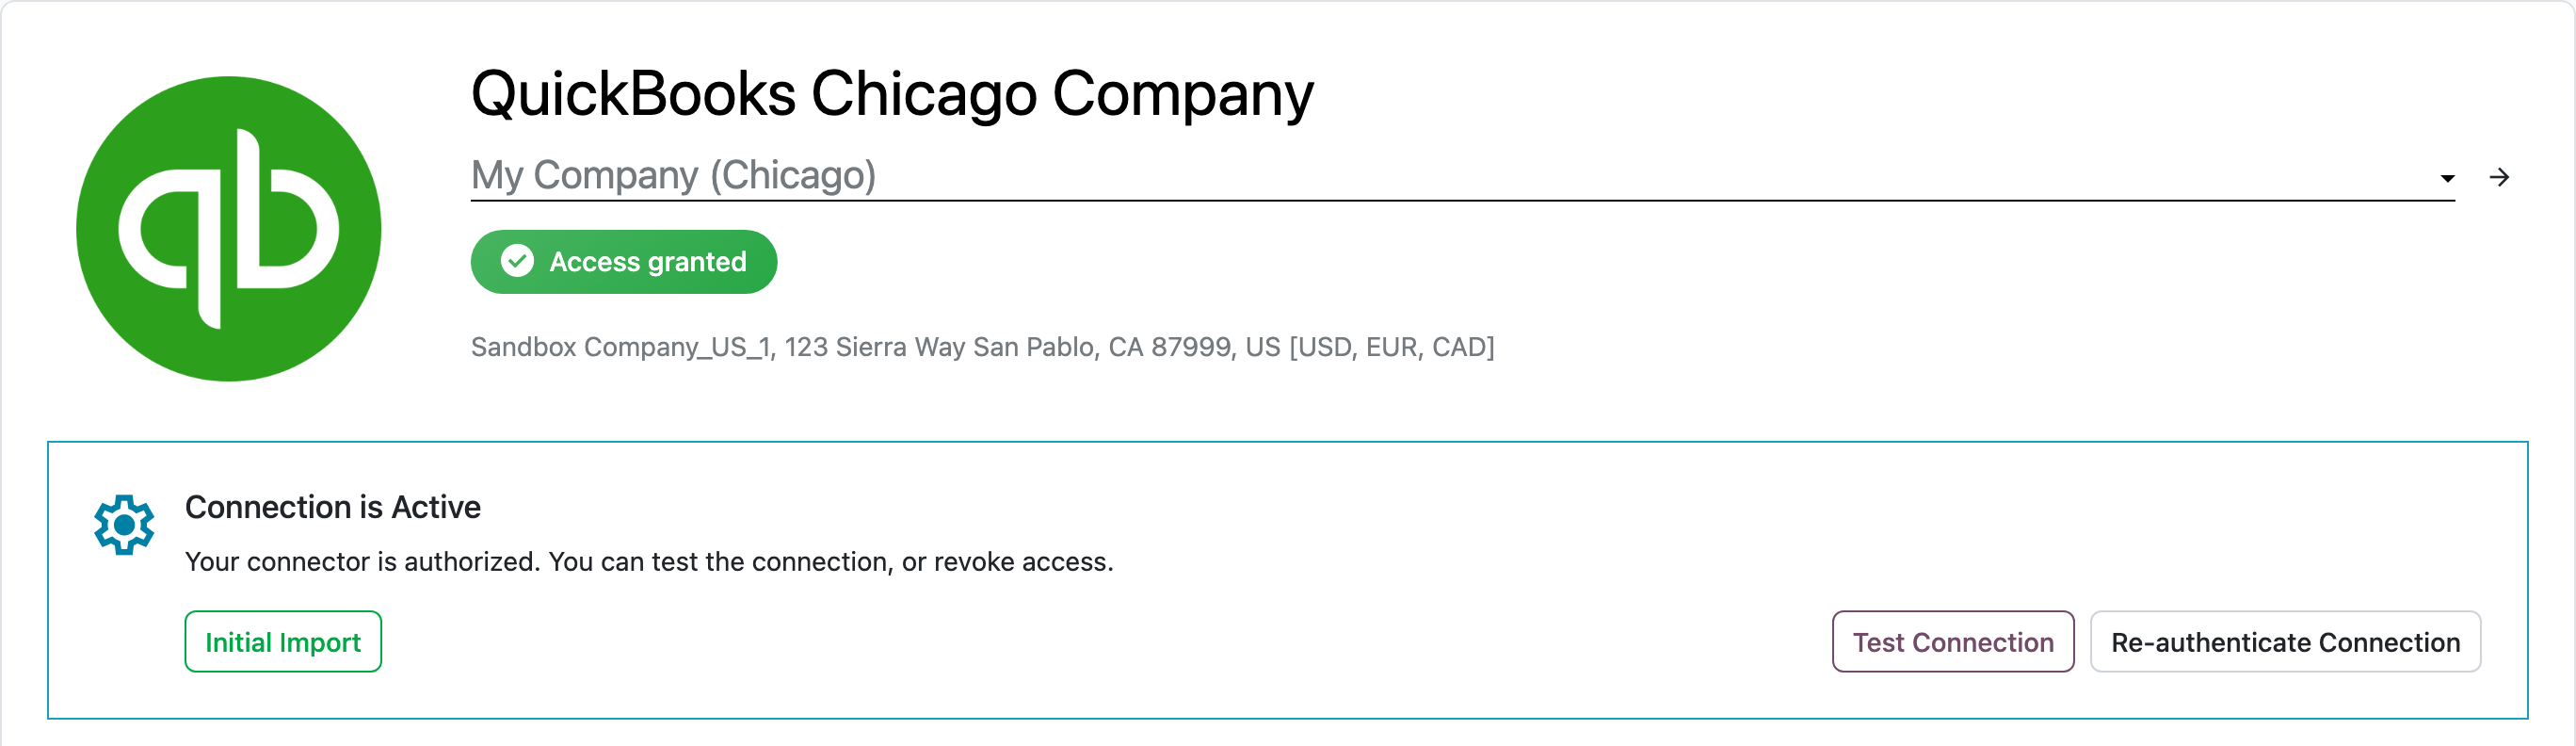
Once the connection is authorized, click Initial Import.
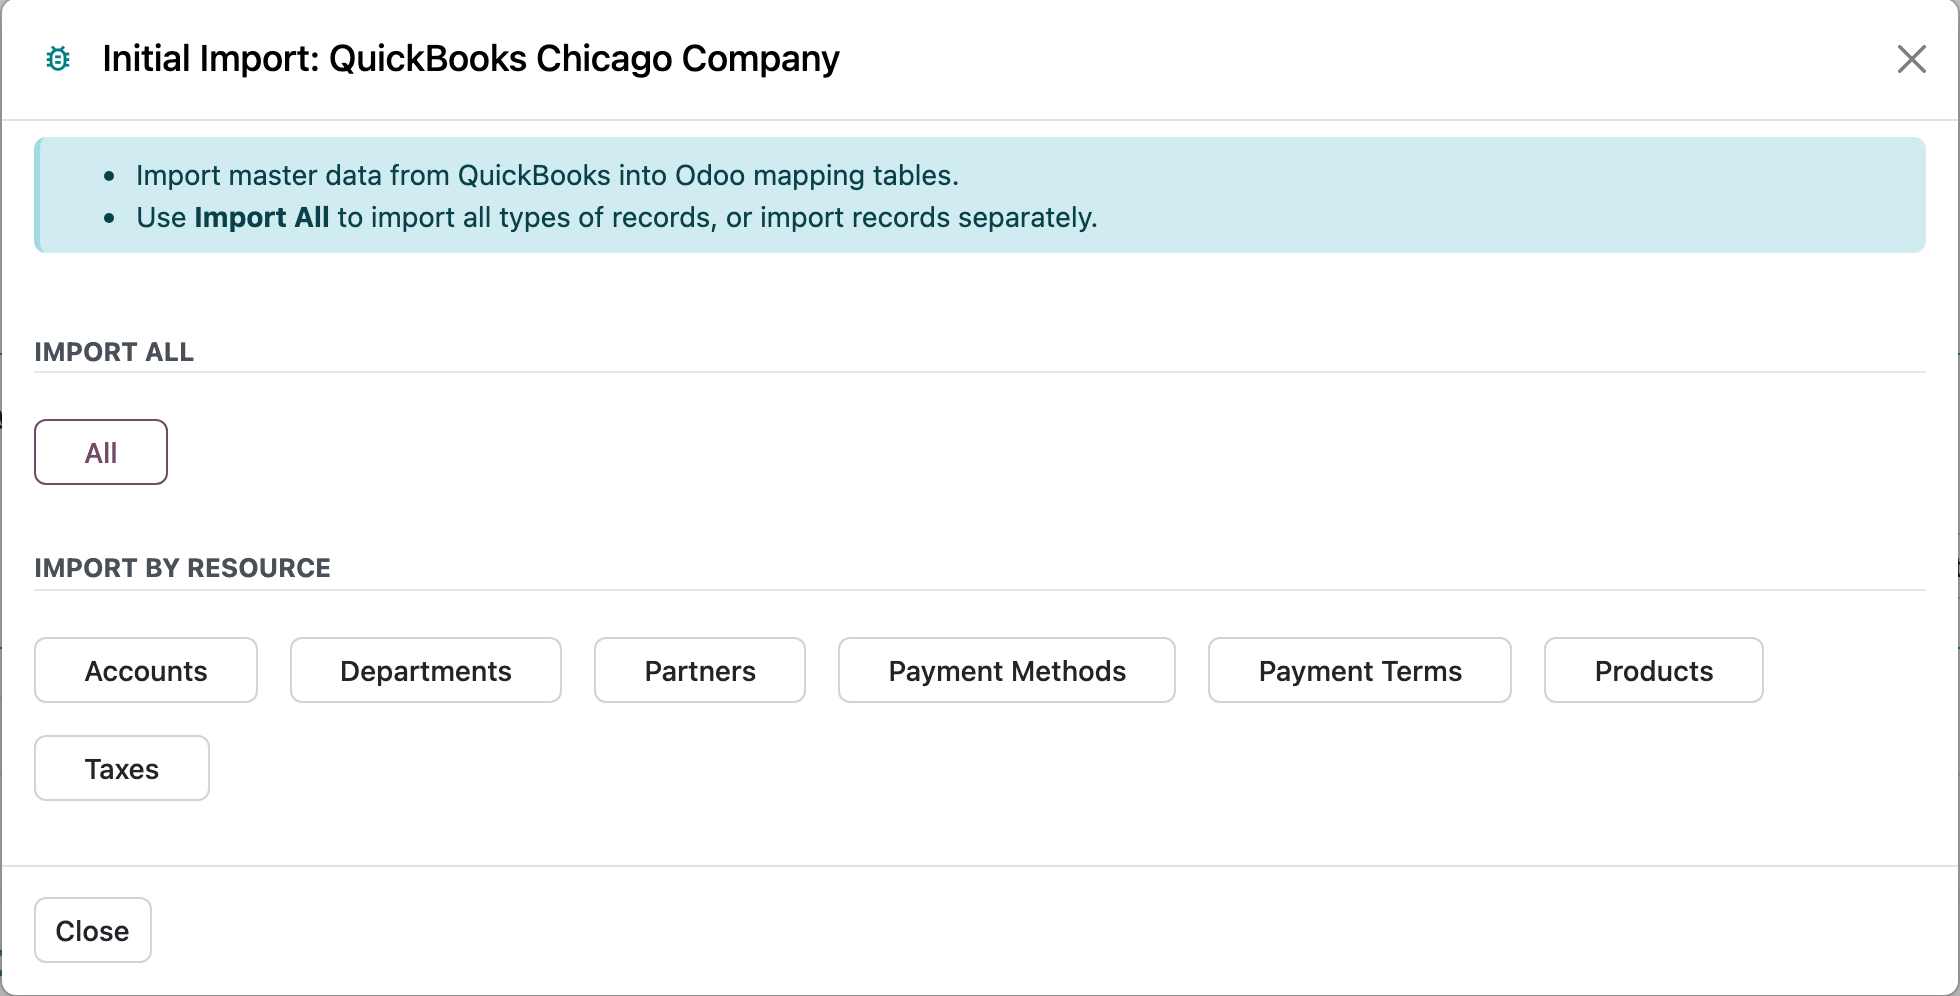
The wizard imports your QuickBooks Online data into Odoo and creates the mappings that link QuickBooks records to Odoo records. Click All to import everything at once, or import resources one by one: Accounts, Departments, Partners (customers and vendors), Payment Methods, Payment Terms, Products and Taxes.
Recommendation
For a new setup, use All, so every mapping exists before synchronization starts.
The import runs as background jobs; you can follow them in QuickBooks Online → Jobs.
Step 2: Review the mappings
Open QuickBooks Online → Mappings and check that QuickBooks records are linked to the right Odoo records:
-
Products are matched by SKU (Internal Reference). Unmatched ones can be linked or created with Map by SKU/Name.
-
Customers and vendors work the same way.
-
Accounts and payment methods: link them to the existing Odoo records. An Odoo account used on invoices or products without a QuickBooks mapping stops the export with an error.
Step 3: Invoices & Bills
Automation
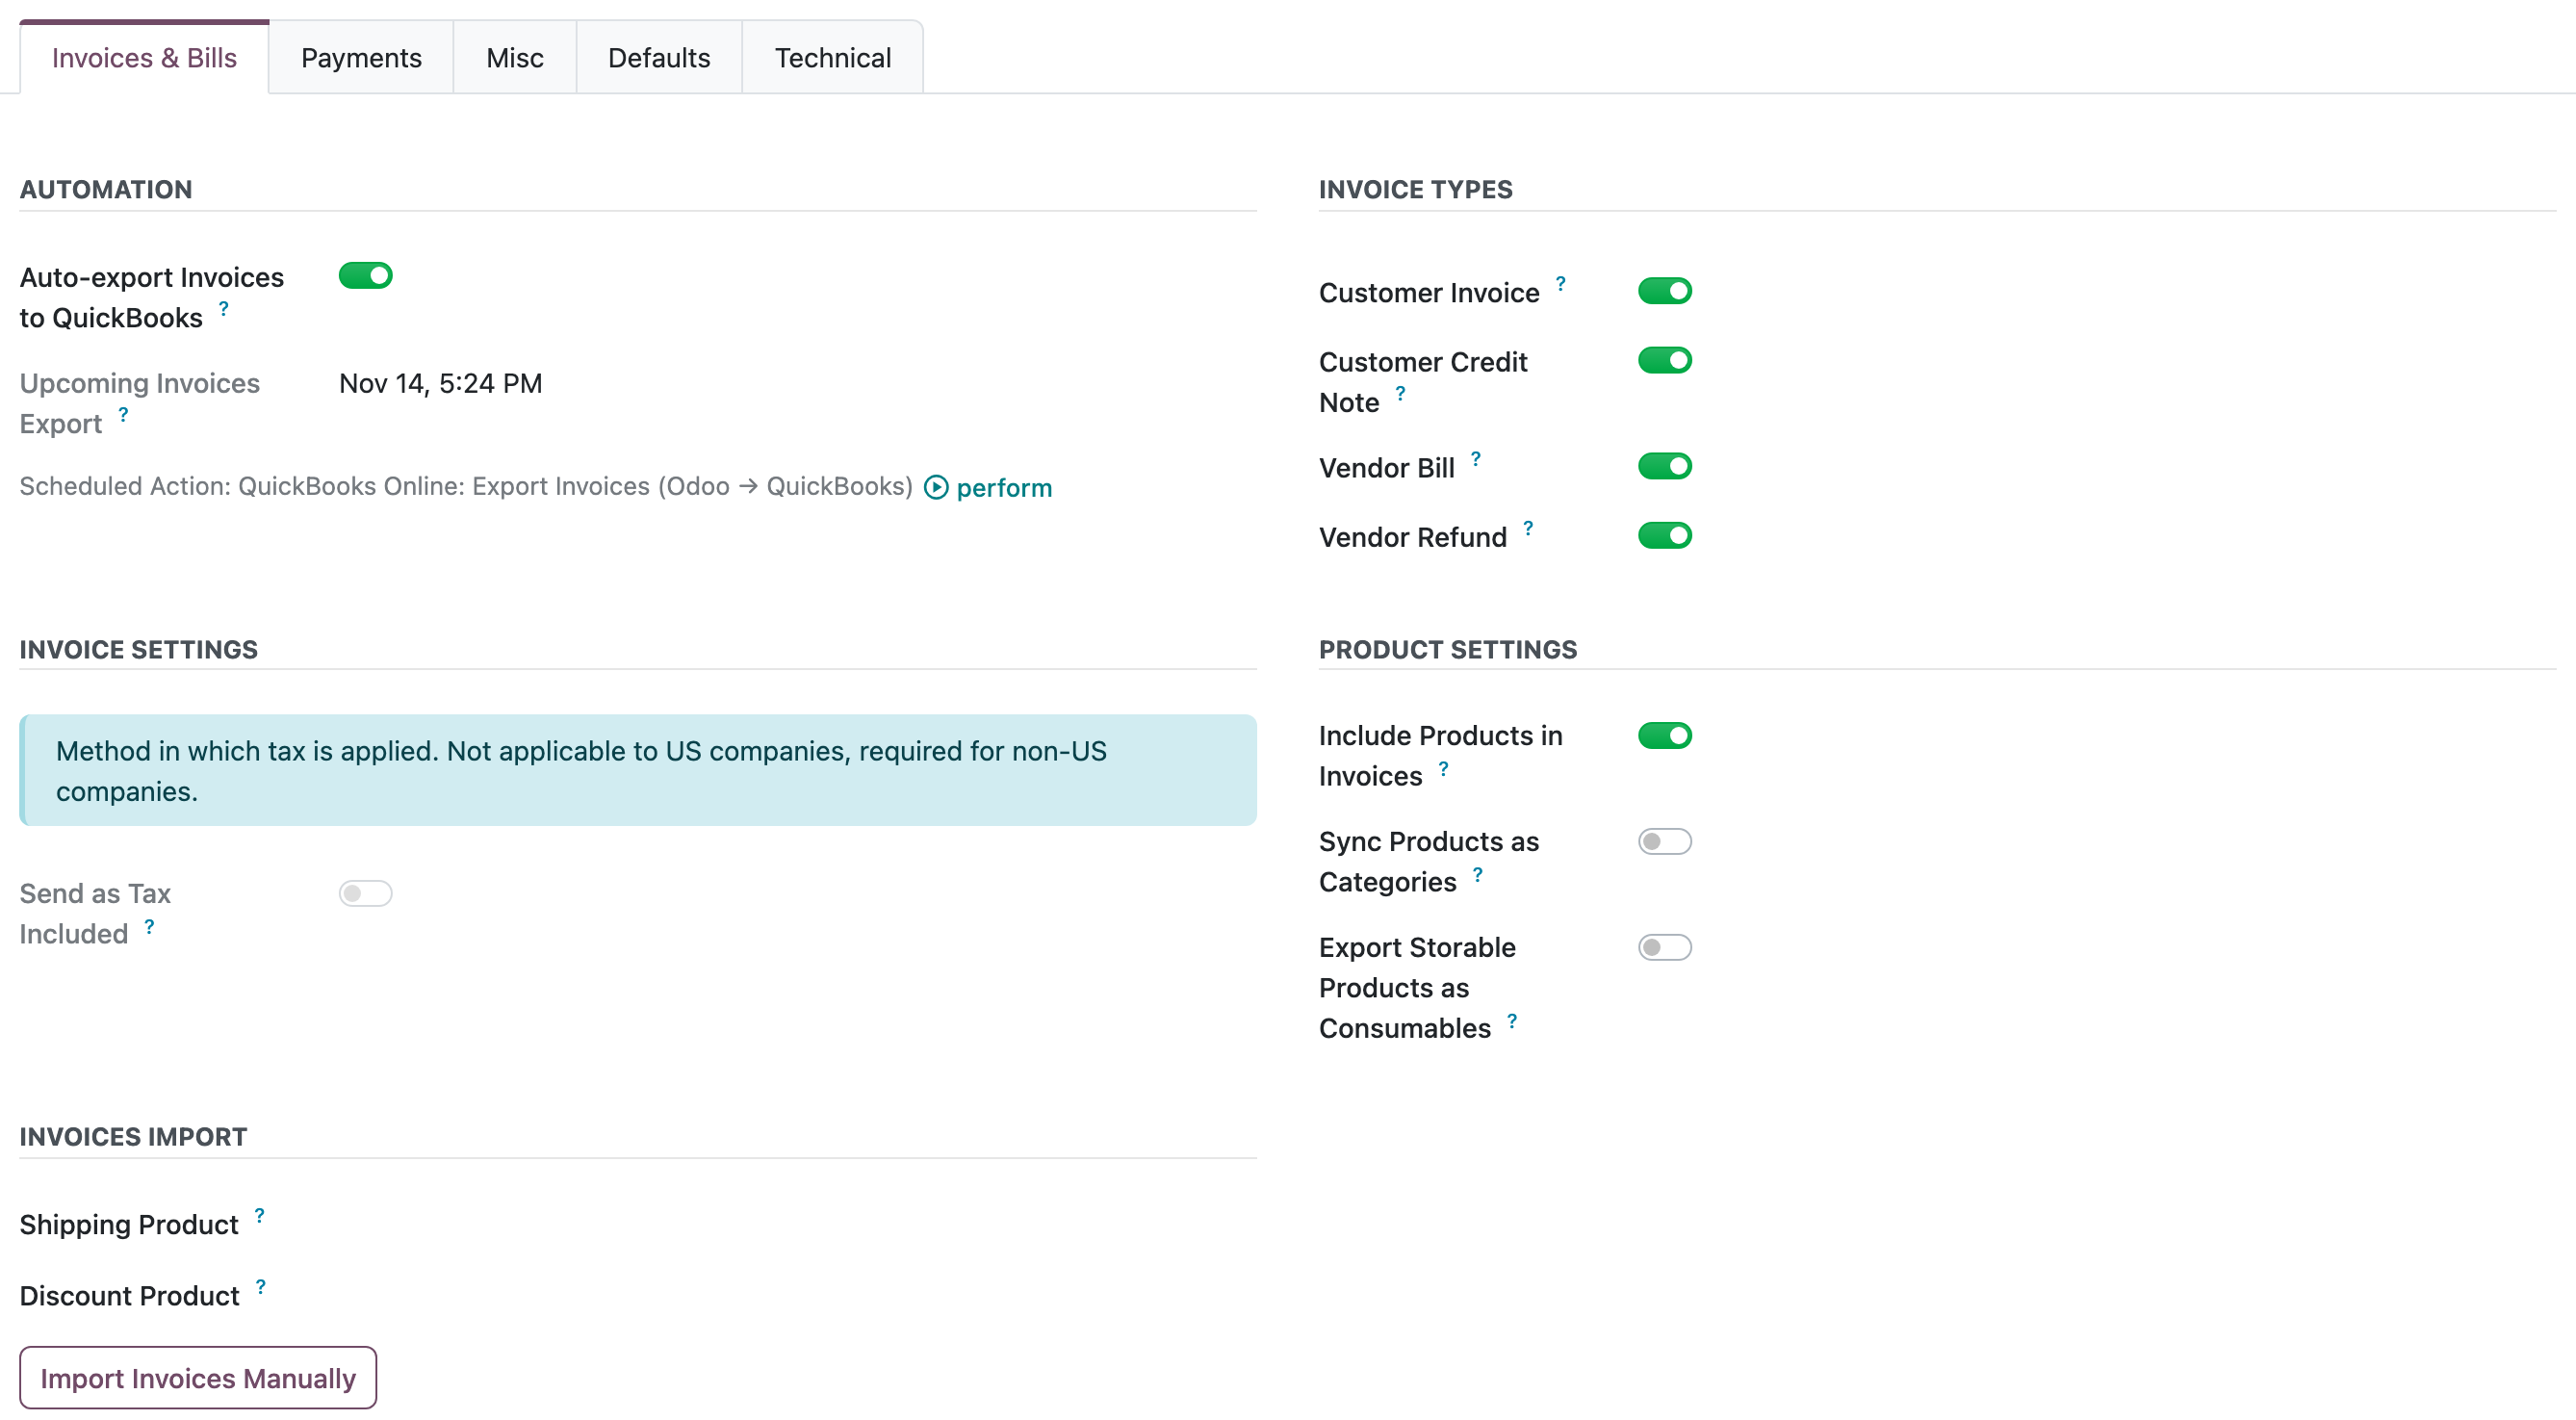
Auto-export Invoices to QuickBooks – a scheduled action regularly exports new posted invoices to QuickBooks Online. Upcoming Invoices Export shows the next run; perform runs it now.
Invoice Types
Choose which documents are exported: Customer Invoice, Customer Credit Note, Vendor Bill, Vendor Refund. Select at least one.
Invoice Settings
Send as Tax Included – how tax is applied on exported invoices. Not used for US companies; required for non-US companies.
Product Settings
Include Products in Invoices – invoice lines are exported with their products. When off, lines are sent with their description only.
Sync Products as Categories – lines are exported with the product category instead of the product (all invoice types).
Export Storable Products as Consumables – storable products are created in QuickBooks Online as non-inventory items.
Invoices Import
Shipping Product / Discount Product – the Odoo products used for shipping and discount lines of invoices imported from QuickBooks Online.
Import Invoices Manually – import customer invoices from QuickBooks Online by date range or by QuickBooks IDs.
Custom Fields
Map QuickBooks custom fields to Odoo fields, one line per transaction type. Click Import Custom Fields Definitions first to load the list of QuickBooks custom fields.
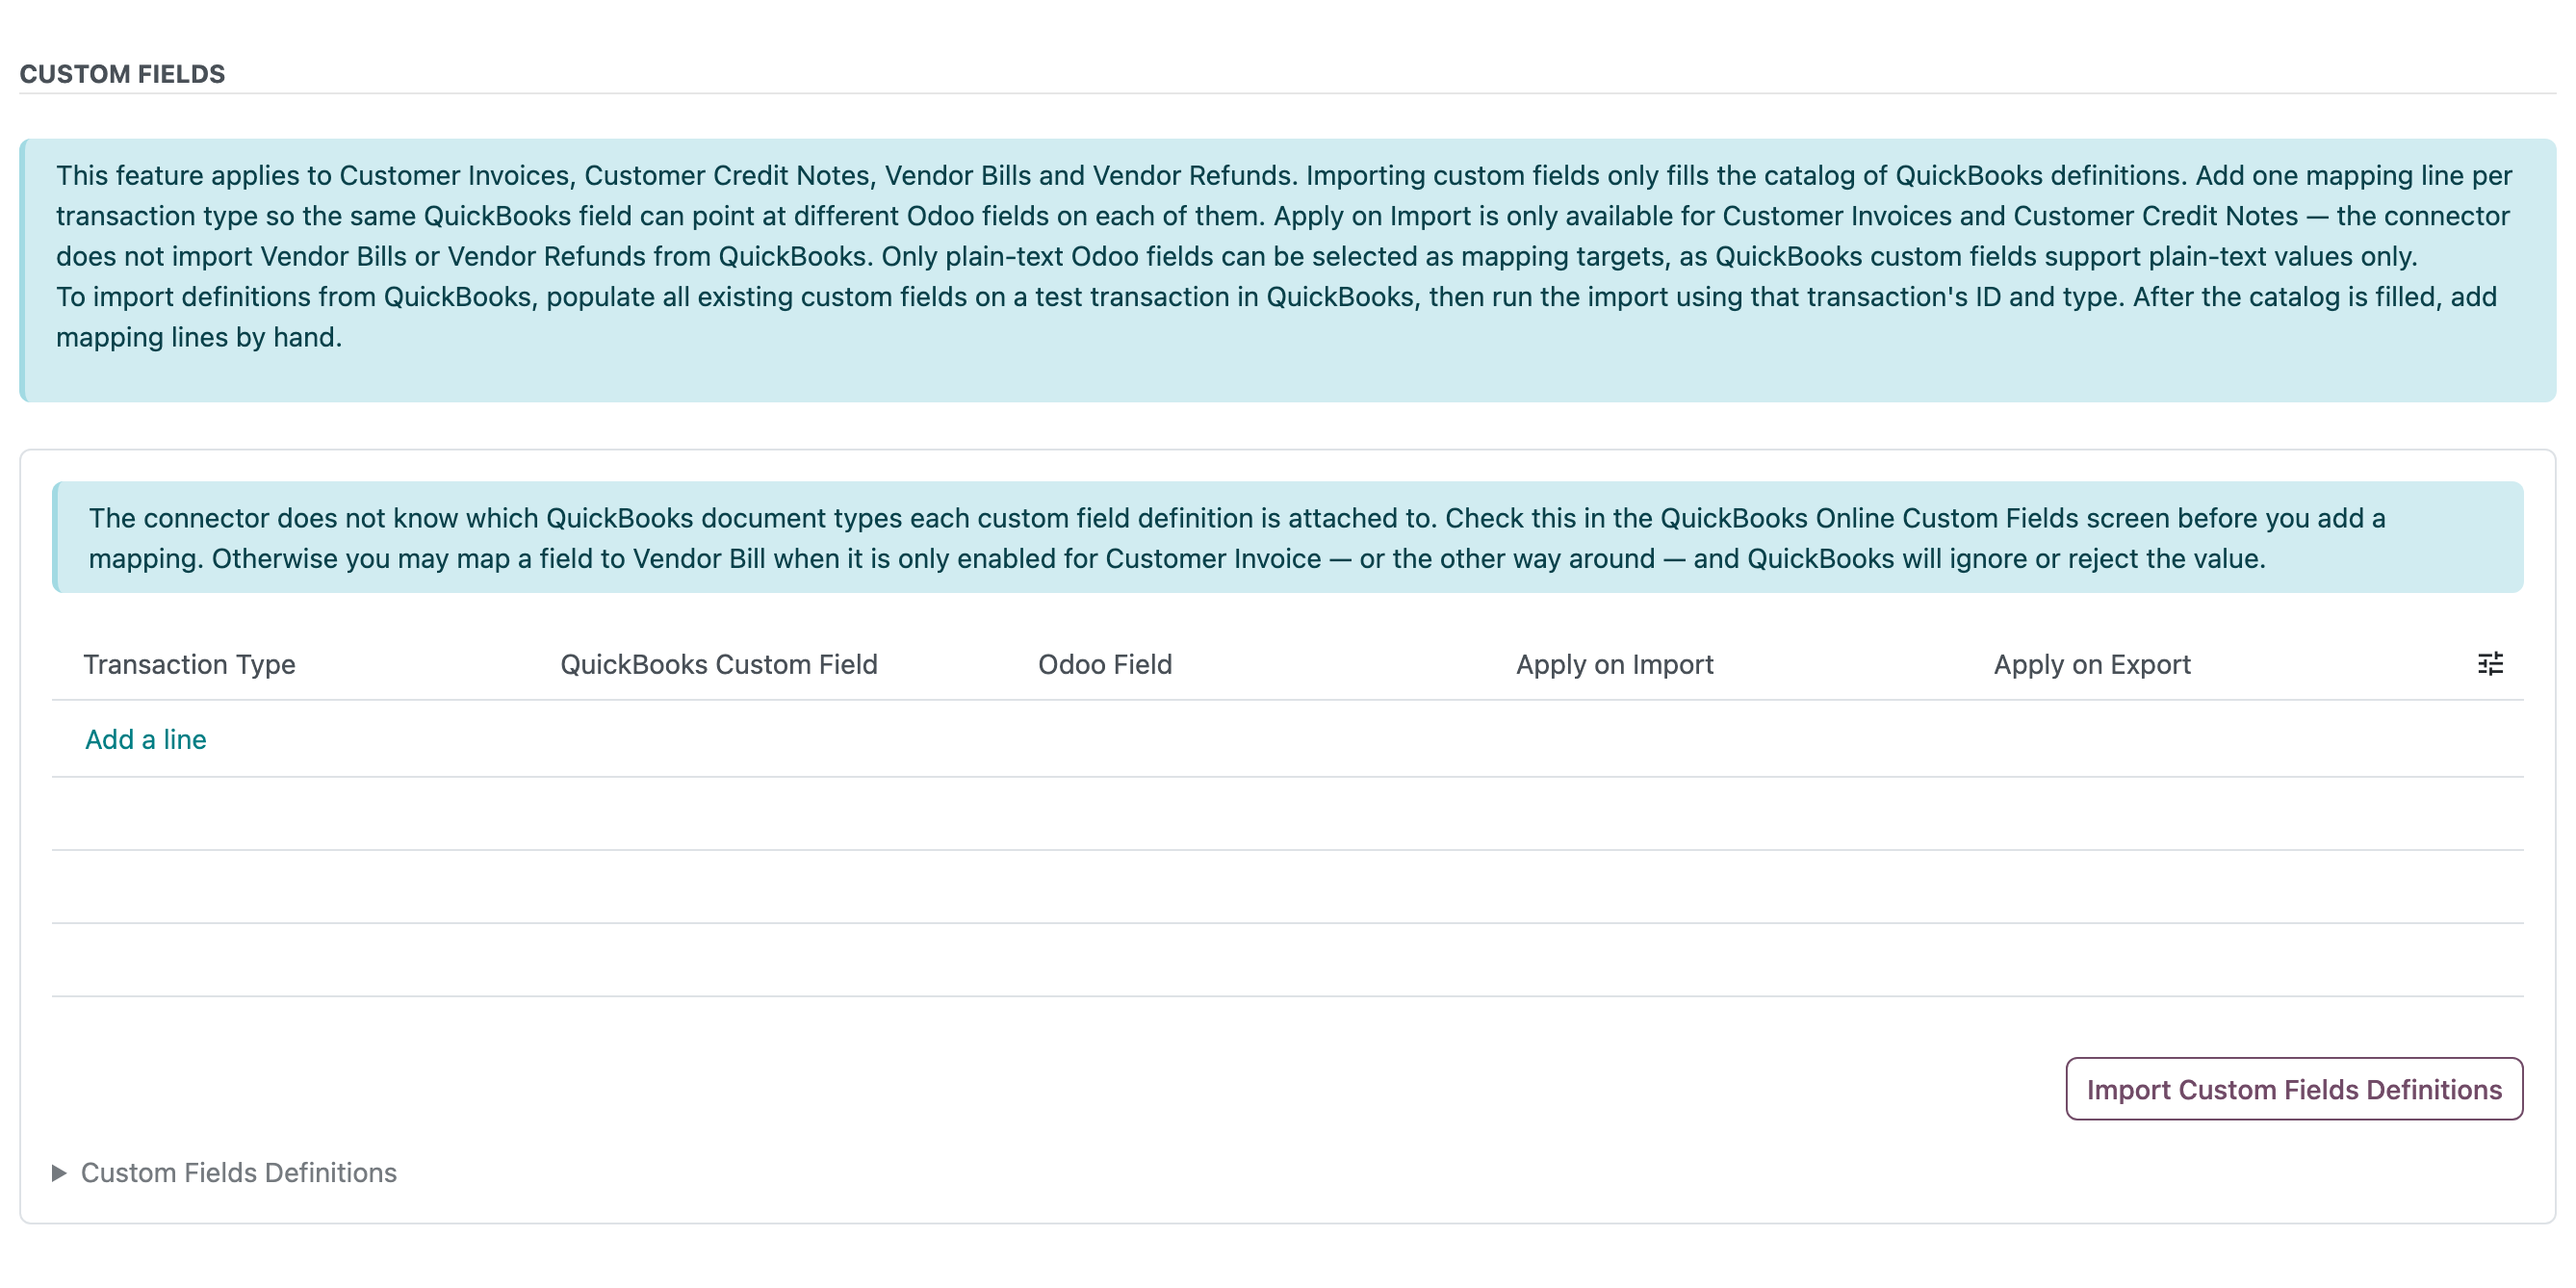
Custom fields are exported for all invoice types, but imported only for Customer Invoices and Customer Credit Notes. Only plain-text Odoo fields can be mapped, and QuickBooks ignores a field on a document type it isn’t enabled for.
Step 4: Payments
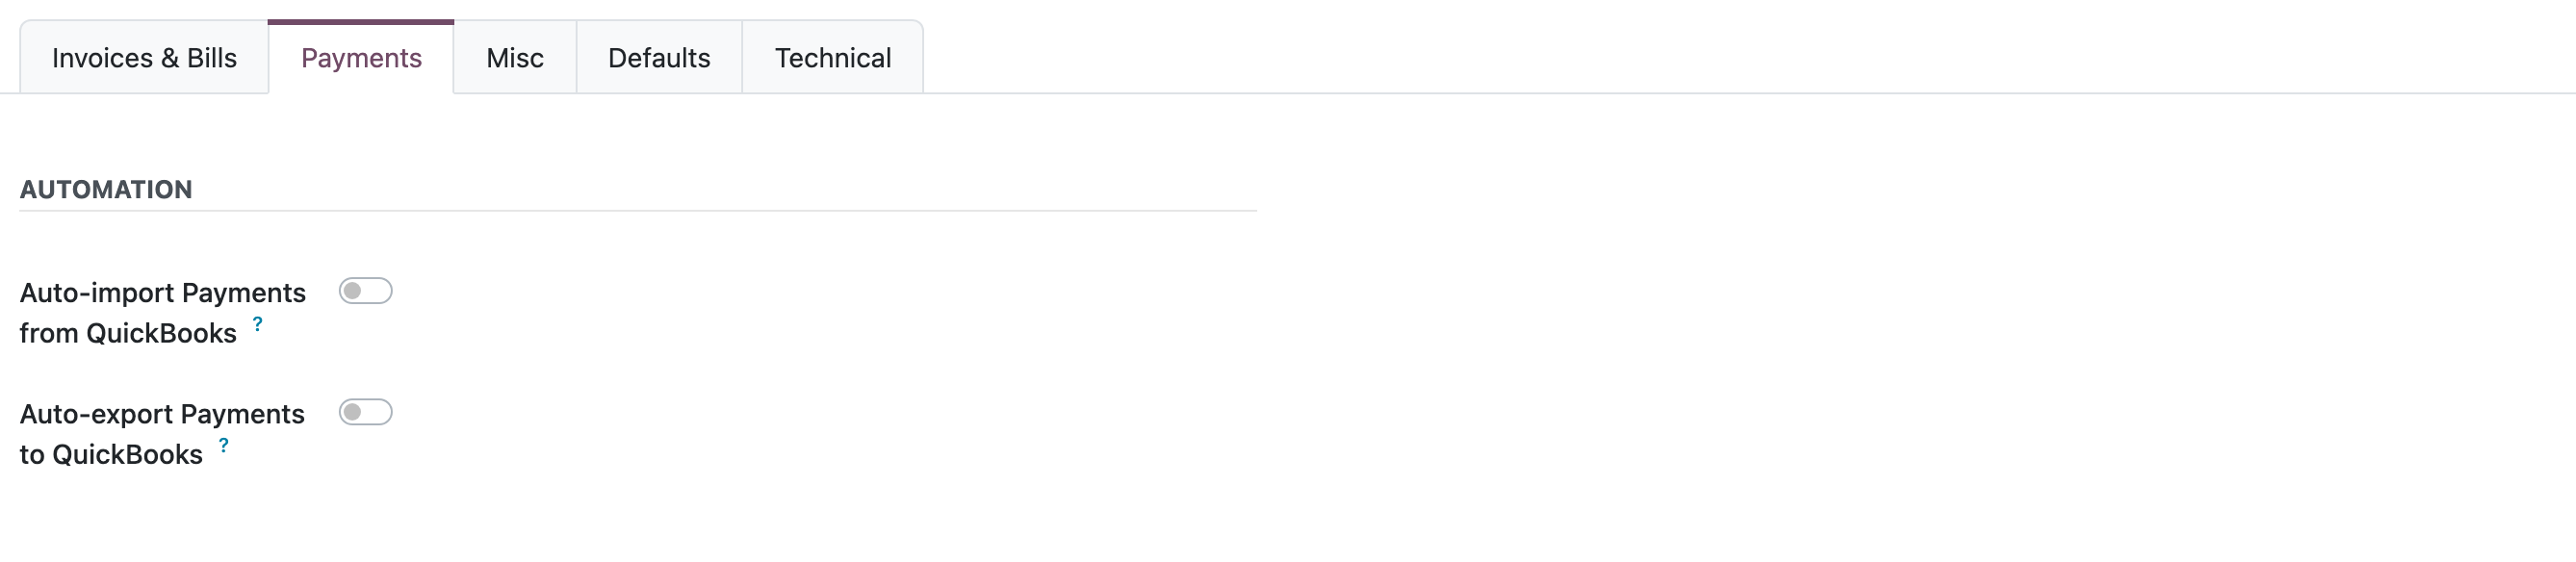
Auto-import Payments from QuickBooks – payments recorded in QuickBooks Online for synced invoices and bills are imported and reconciled. The Odoo invoice becomes In Payment, then Paid.
Auto-export Payments to QuickBooks – payments registered in Odoo for synced invoices and bills are exported to QuickBooks Online.
Payments are synced only for invoices and bills that are already in QuickBooks Online, so turn on Auto-export Invoices to QuickBooks first. Set the defaults in Step 6 before importing payments.
Step 5: Misc
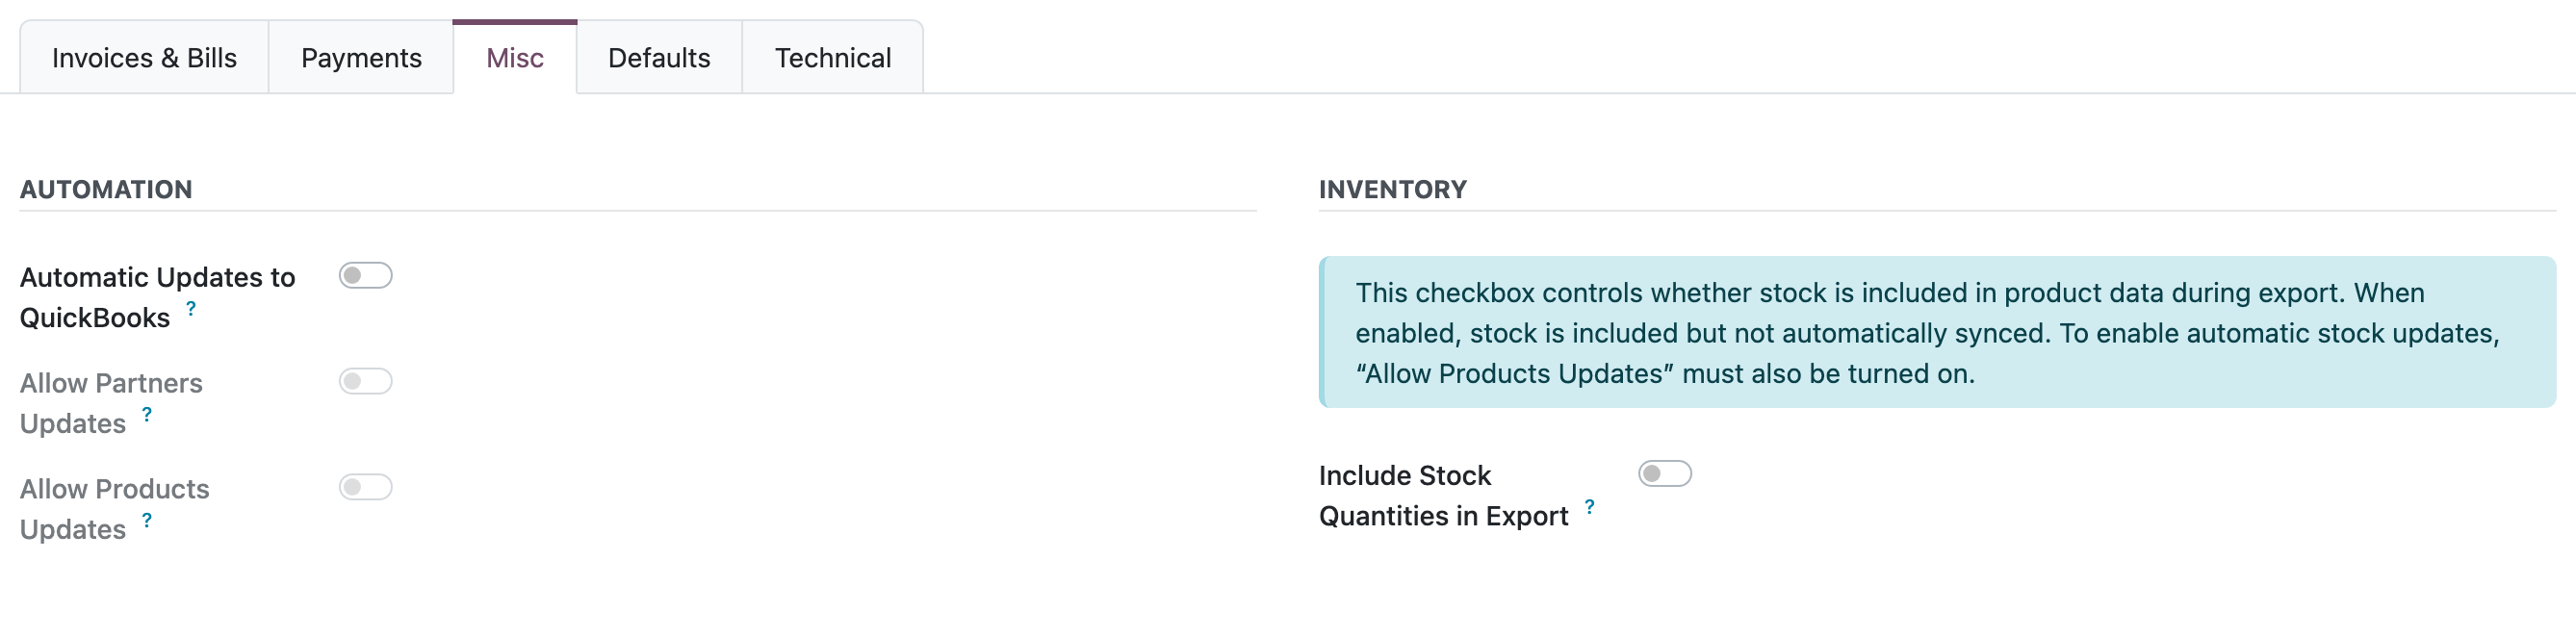
Automatic Updates to QuickBooks – the main switch: changes to records already in QuickBooks Online are sent automatically. Then choose what to update:
Allow Partners Updates – customer and vendor changes.
Allow Products Updates – product changes.
Include Stock Quantities in Export – stock quantities are sent with product data. Stock is updated automatically only when Allow Products Updates is also on; otherwise it is sent only when a product is exported. The first export of a storable product always includes its stock (QuickBooks requires it).
Step 6: Defaults
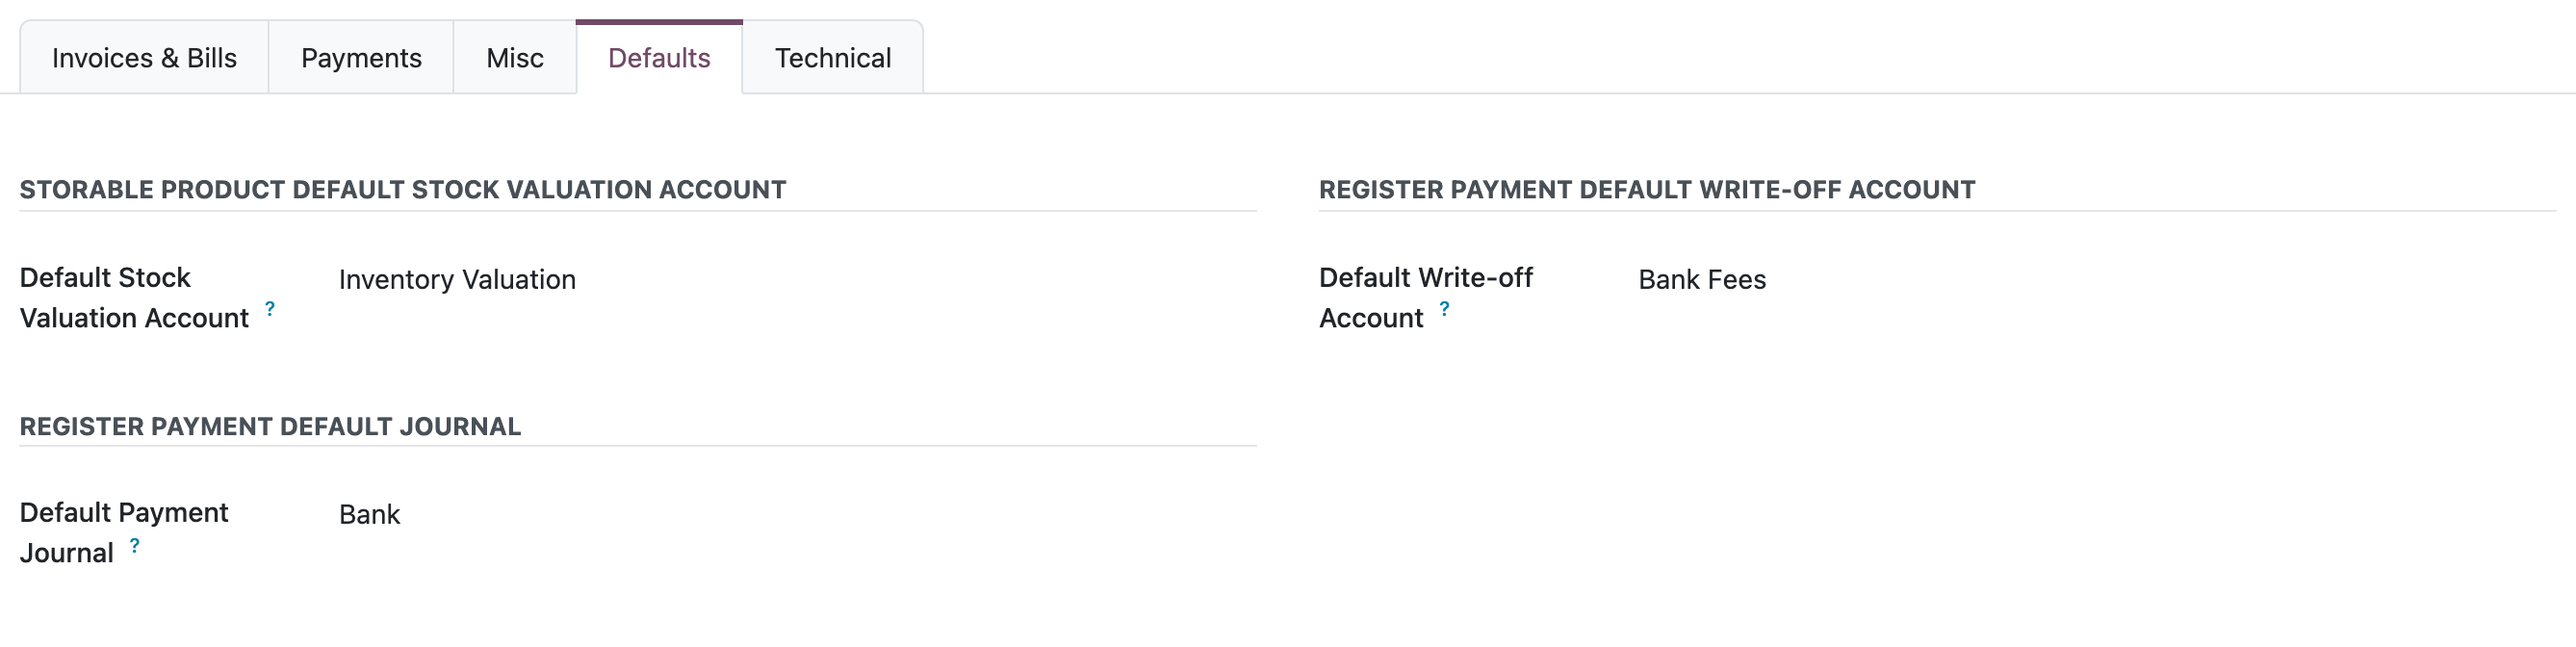
Default Stock Valuation Account – used for storable products when neither the product category nor the company has a stock valuation account.
Default Write-off Account – records the difference when an invoice is paid in QuickBooks Online but the imported payment doesn’t match the Odoo total.
Default Payment Journal – the journal for payments imported from QuickBooks Online.
Adjust Inventory Account (QuickBooks) – the QuickBooks account for inventory adjustments, usually called “Inventory Shrinkage”. Shown when stock export is used; available after accounts are imported.
Without the default journal and write-off account, imported payments can’t be registered and the payment import job fails.
Technical settings (developer mode)
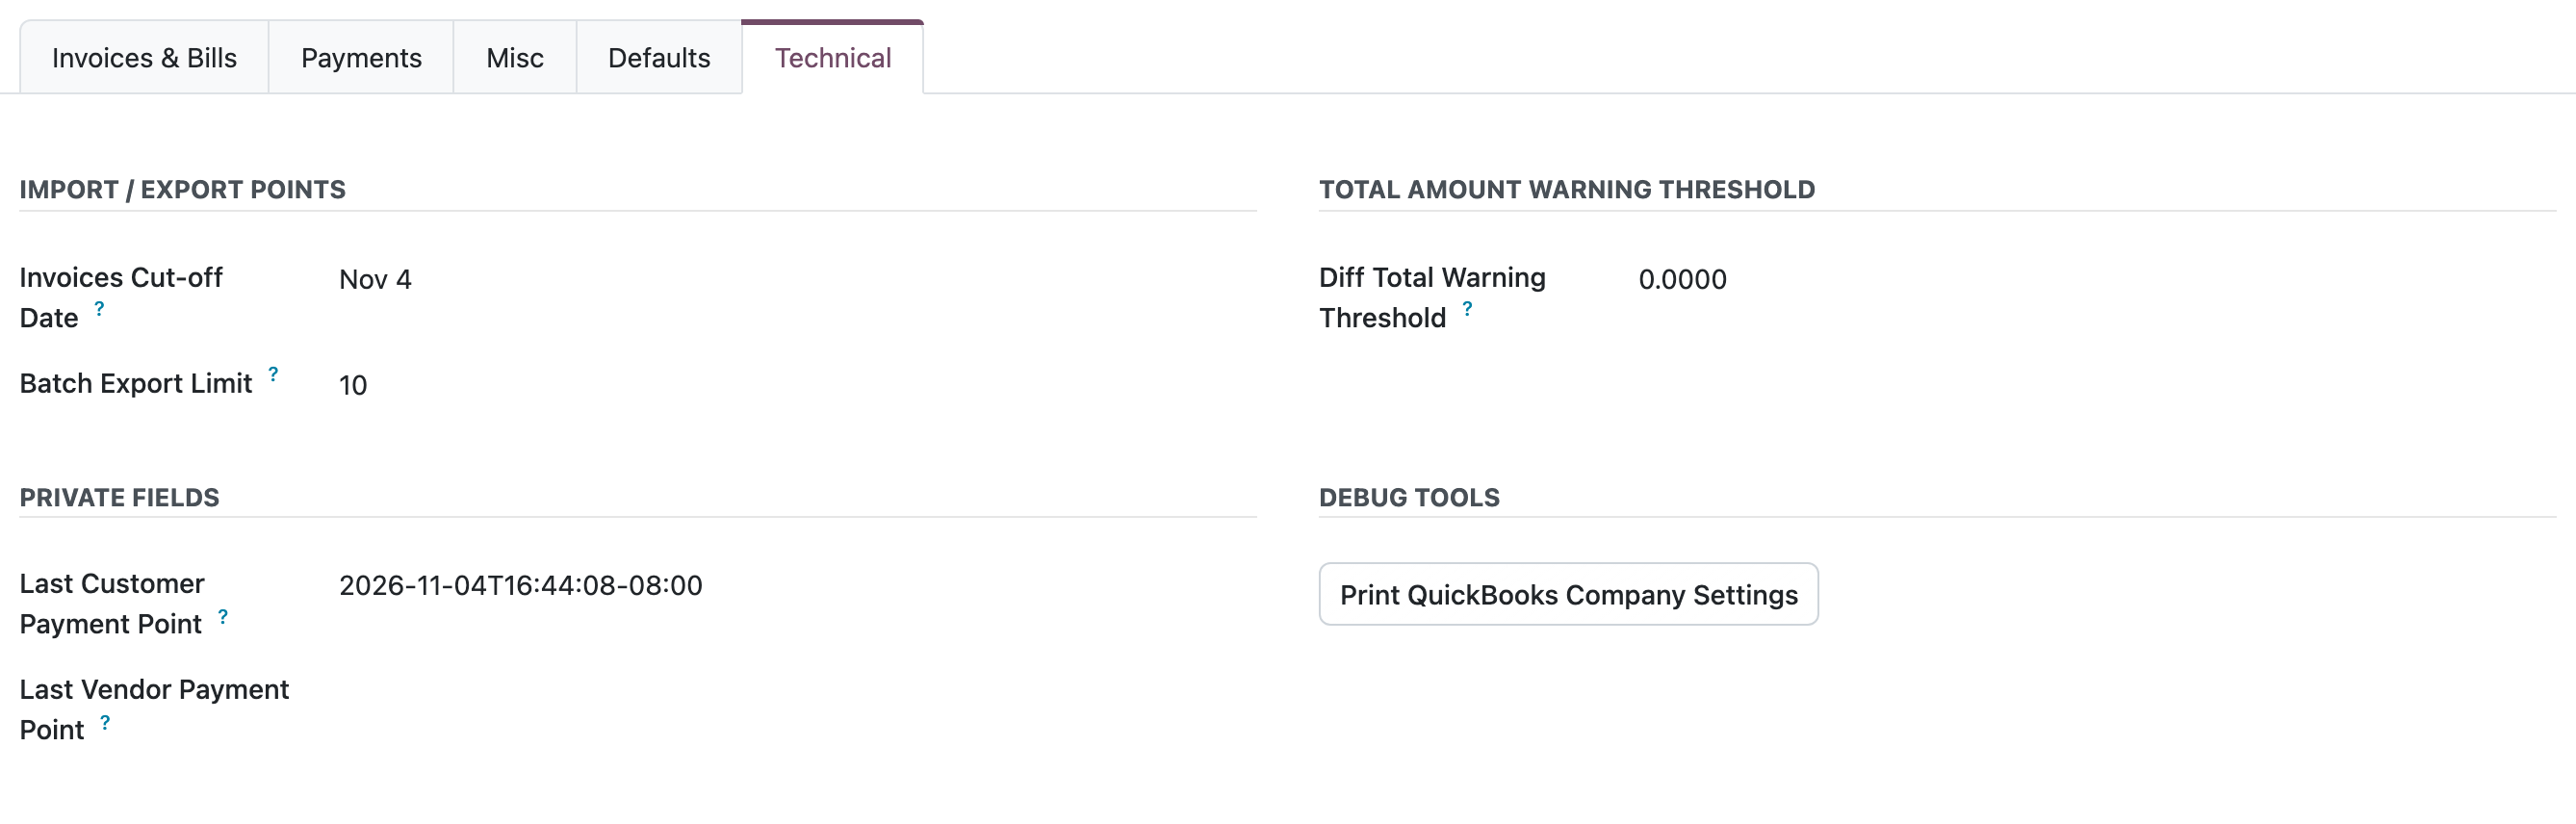
Invoices Cut-off Date – invoices before this date are not exported automatically.
Batch Export Limit – how many invoices are exported per run.
Diff Total Warning Threshold – a warning is shown when the invoice totals in Odoo and QuickBooks Online differ by more than this amount.
Last Customer / Vendor Payment Point – the time of the last synced payments; the next payment import starts from here.
How often each sync runs is set on its scheduled action: Settings → Technical → Scheduled Actions, search for QuickBooks Online.
What’s next?
-
How to automatically synchronize data between QuickBooks Online and Odoo
-
What are the capabilities of the QuickBooks Online connector
-
How to get sales taxes from QuickBooks Online for a Sales Order in Odoo